
Skip to main navigation Skip to main content Skip to page footer

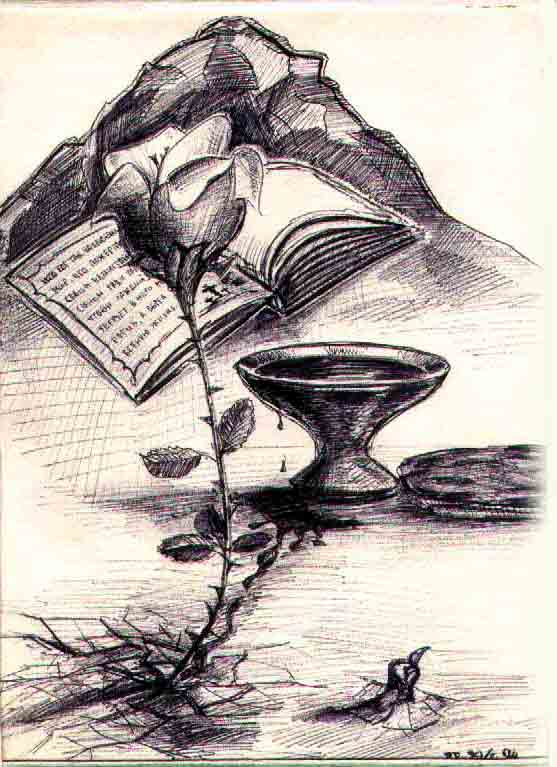
Gallery A - DARK

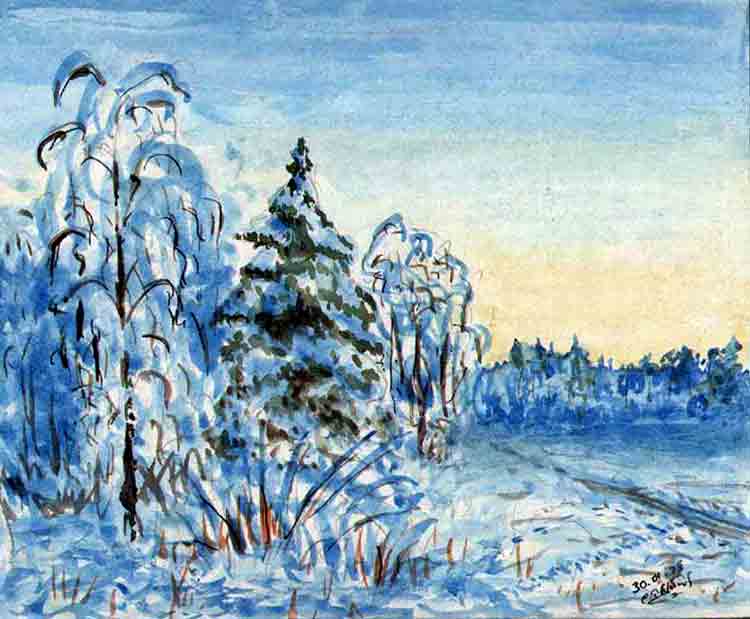
Gallery B — LIGHT